|
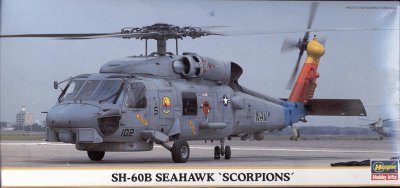
Sometimes you go into the model shop to pick up supplies and
you walk out with a kit you never were looking for in the first
place, well this was one such time.
| I saw the box on the new
release shelf and thought "What the Hell!" Maybe I was also
inspired by seeing a real SH-60 buzzing the strip when I was on
Vacation in Ocean City Maryland the week before. What ever the
reason I thought it'd be fun to build a helo (Navy talk for chopper) instead of my 30 or so waiting jet
kits.
|
|
Construction was pretty straight forward, starting as always
with the interior and prep of the fuselage. The interior is very
basic and lacking in detail, made up of a large deck plate for
the cabin floor, four crew seats, pedals, sticks and a
instrument panel.
The cockpit has two decals, one for the
instrument panel and the other for the center counsel. Missing
of course is the Sonobouy panel for the rear compartment and the
other ASW equipment that would go there. Since I was building
for fun I decided to close the doors (you can have the right
side doors open) and the only detail I added was masking tape
seat belts which I didn't even paint since I was unsure of the
color. Superdetailers could have a lot of fun with the inside of
this kit, especially if they pick up the Squadron UH-60 Walk
around book which I understand has plenty of SH-60 pictures (I
could not find it here in my area).
|
|
Click on images below to see larger images |

|
 |
|
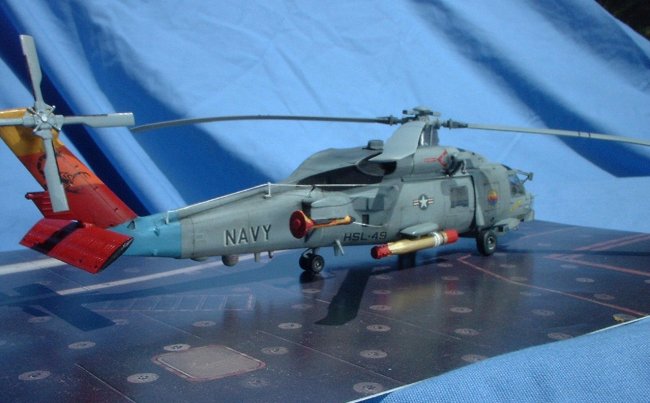
| As far as the exterior of the kit, it is very nice with fine
recessed panel lines and the correct overall shape. But be
forewarned the kit appears to be based on the SH-60 prototype
(even has the High Vis prototype markings are shown in the
instructions) so there are a few external changes to be aware
of. |
|
|
Click on images below to see larger images |
|
 |
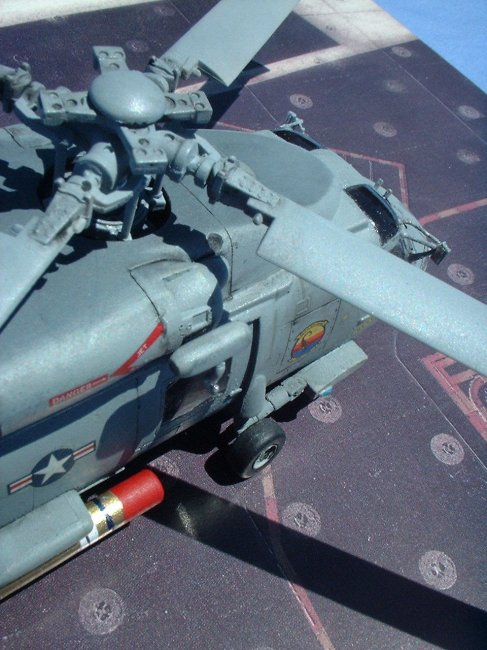
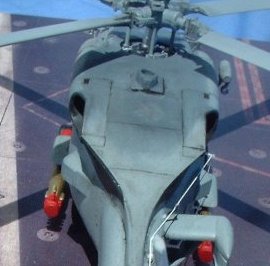
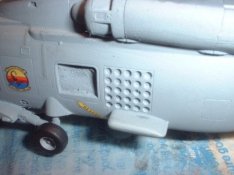
Some of the biggies are, the rear view mirrors on the
outside of doors, the antenna fit on the rear tail boom, the
mounting for the IR Jammer (disco ball) on rear engine deck
behind the rotor, the pilot tubes on nose, and boarding steps on
main gear fairings. Although I did not add it because my
aircraft did not appear to have it fitted, on most SH-60's there
are RWR antennas and chaff/flare dispensers.
Most of the details were added latter in construction, first
I joined the fuselage halves. Before joining them I tried
something new for painting, I put masking tape on the inside of
all of the window openings, except the main front canopy. This
was so I could protect the interior while I painted exterior and
then pull the tape through the hole when done, and it worked
like a charm! Why mask from the outside when you can do it from
with in? To pull out the tape I tugged at it with my tweezers
and then pulled once I got an edge sticking out. Back to the two
halves, they joined up without any gaps, but proved difficult
because they were uneven and had a slight step to them in
height. That was the biggest sanding/filing part of the whole
project, and took the longest. Other than that all of the other
parts fit together with the usual Hasagawa precision, so well I
had to rescribed one door where the fit was so good the door
door panel/joint merged with the kit!
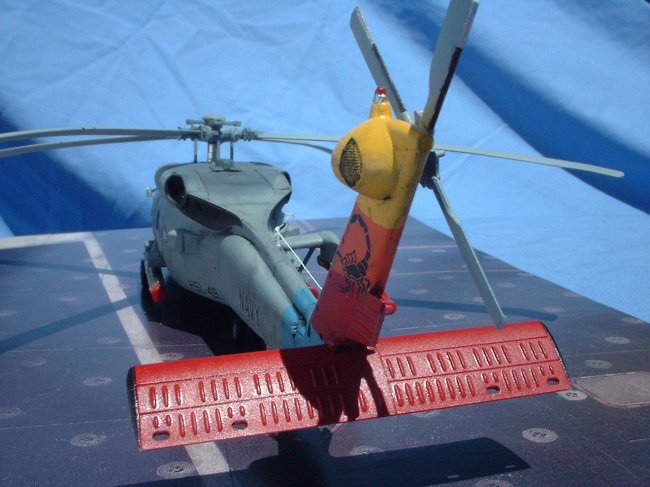
One thing I did for the rotor blades, which I picked by
reading another review of this kit on the web, is to gently bend
them in warm water so that they hang down like the real rotors
do. On the subject of the rotor blades I put the fine black
lines onto them using a sharpy marker and a straight edge, my
sharpy also put the rivet marks on some of the panels.
Painting for me is always the hardest part of any kit, since
it is my weakest skill and takes several attempts before I give
up. First I painted the top engine deck (Dark Ghost Grey
darkened with black) and then the underside (Light Ghost Grey),
and both looked great.
| Then I soft masked (paper suspended just
above surface) both the upper and lower surfaces so I could then paint the Dark Ghost Grey. On the first attempt there was a
problem with my airbrush (not enough thinner I think) and I got a rough splattered surface, so I stripped it off. Tried again,
this time too thick, stripped it off again, finally I got it
right only to find lint and hairs in it after drying (even used
plastic prep cleaner every time), oh well, this is suppose to be
a fun kit anyways. The soft mask worked well on the underside,
giving a soft edge, but I over sprayed the top a little from all
those different tries.
|
|
Click on image below to see larger image |
 |
|
Luckily I had sealed the dark grey up top
with future before I painted the other paint, so all I had to do
was wipe it carefully with Testor's paint cleaner and I got a
nice soft edge and a weathered look.
|
Click on images below to see larger images |
|
|
|
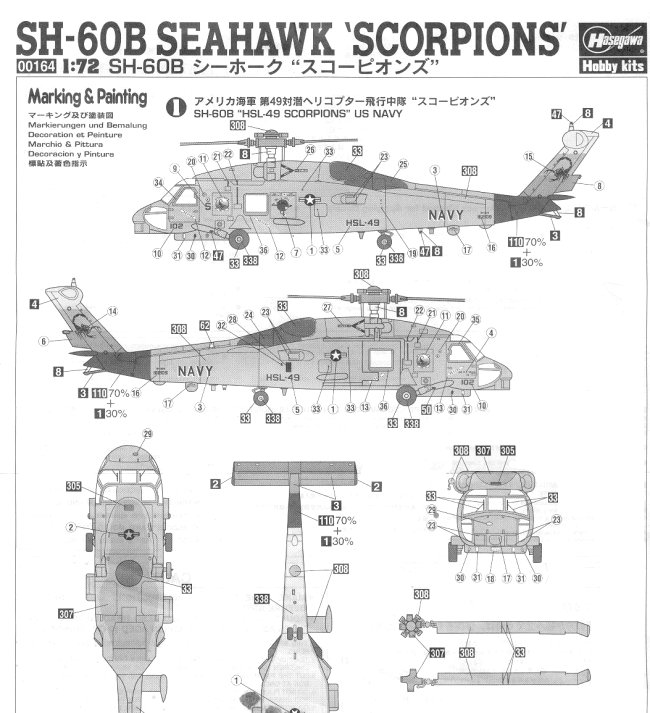
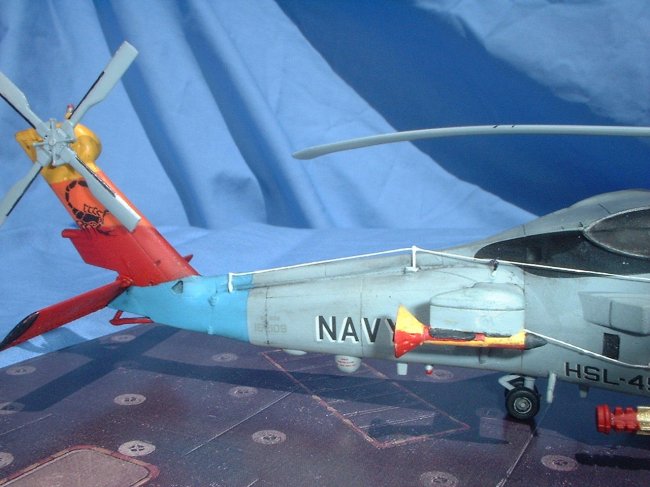
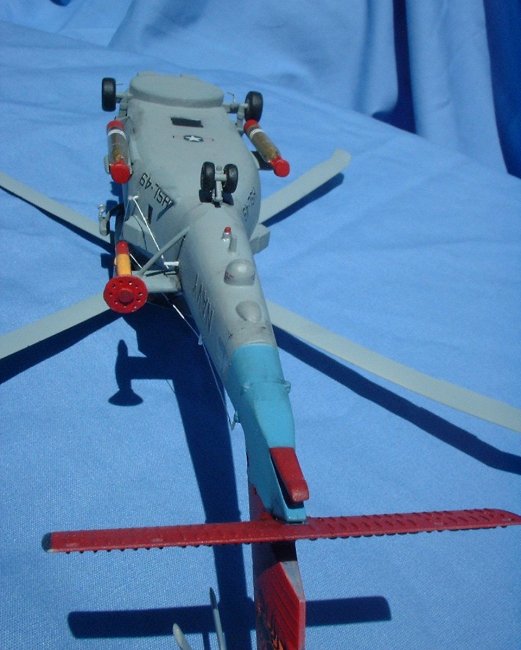
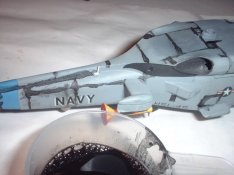
| Next came the tail,
Hasagawa gives you a decal for the red and orange on the tail,
but not the red of the horizontal stabilizer, so I instead
decided to paint all of it. I masked and mixed paint using the
box top picture for color reference and painted |
|
| in layers,
masking as I moved up the tail, blue to red to orange to yellow. The end result looked better than the decal would have, although
the yellow got a few smudges. |
For the wheels I painted them grey
and then used liquid mask for the hubs and painted them black.
Next I sealed using Testors Flat acrylic for the grays
and
future for the tail, and then proceeded to decaling. Last time I
decaled with a Hasagawa re-release decal sheet (1/72nd EA-6B
VAQ-136 CAG) I lost a few decals to handling of the model so I
was very paranoid this time (I don't know if the glue is weak or
something). So I decaled from the nose to the tail, re-sealing
with Testor Flat acrylic every few inches, or when ever I called
it a night. I think it worked because I have not had any even
come close to coming off, plus the flat acrylic had the added
benefit of reducing the silvering.
|
Click on images below to see larger images |
 |
 |
 |
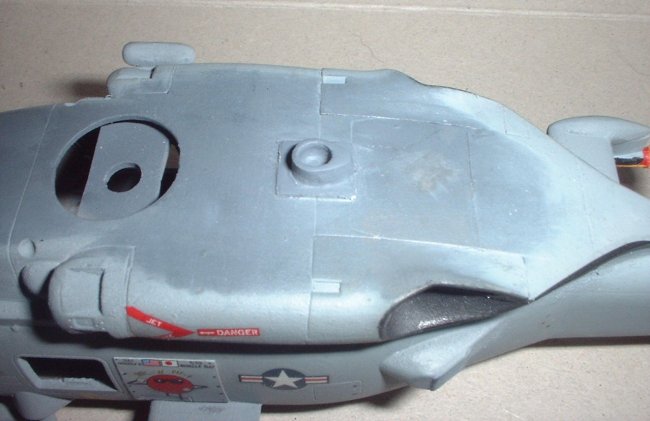
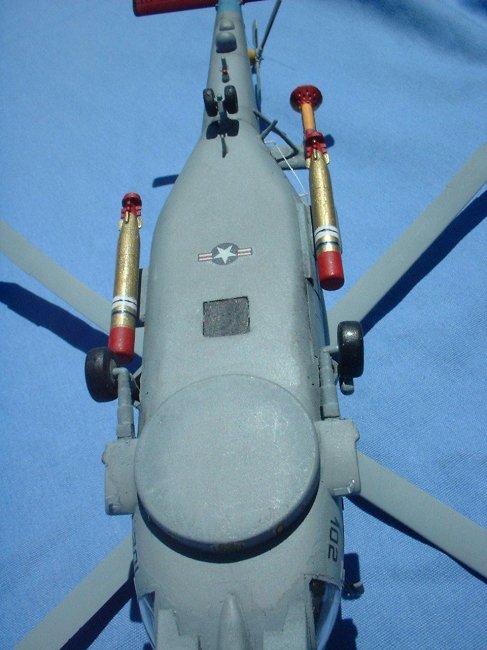
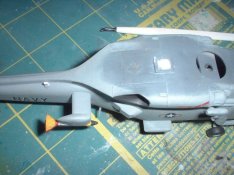
During the decal process I
discovered a huge mistake I had made, I forgot to cover the
Sonobouy panel where the red dot figure was supposed to go. I
freaked out for a minute or two, then I looked at the box top
picture and realized that on the real aircraft it was only a
cover put on over the panel. So I took a piece of paper and
traced the correct size, and then cut out a .005 super thin
piece of evergreen plastic sheet, painted it and then glued it
in place. It looks about right, what a relief!
After decaling was done I finally lifted off the
several
masks for the clear parts on the nose and cleaned them up with
future, as well as pulling out the masking tape in the windows.
I had to rebuild one of the external mirrors, because I broke it
off and it got lost. To make them I used a single staple cut
into three pieces, and a piece of evergreen plastic, the trick
to balancing them all together is using super glue gel because
it holds them steady at an angle while you glue the tip of the
three staple parts. The mirror surface itself is bare metal
foil.
|
| Click on
image below to see larger image |
 |
|
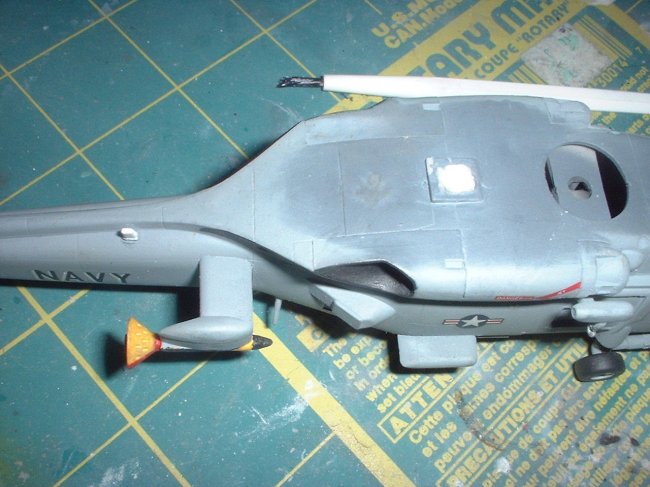
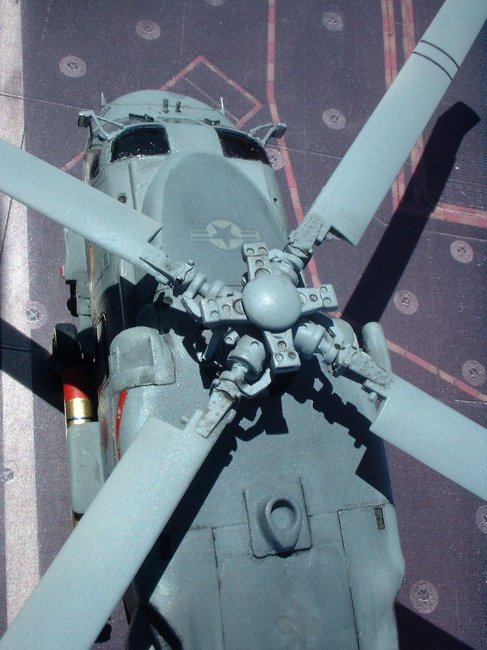
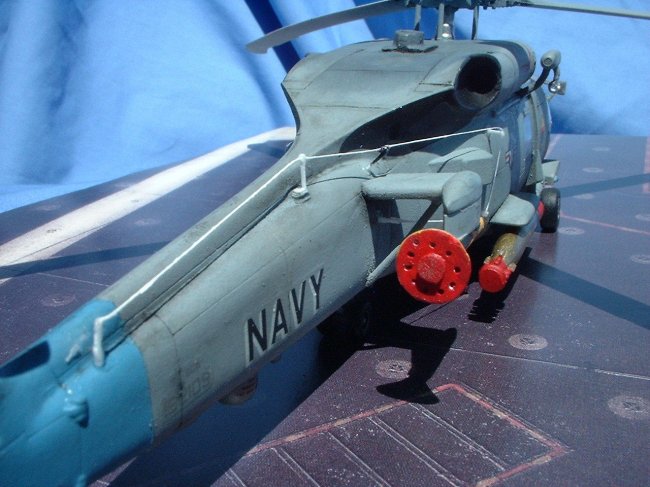
About the time I thought I was done I realized I had
made
another big mistake, I had used a photo that showed what looked
like a box sitting behind the rotor so I made a box and put it
up on the rear deck of the engine. This of course was where the
mount for the IR Jammer I mentioned earlier should be, the
picture I had used was blurred and I did not double check. The
only picture I had of the model subject was the box top which
was taken at an angle where the top of the mount appeared square
leading to my confusion.
Later I found a better picture and
received some help from an expert over the Internet. So I ripped
off the original box and started over. I taped masking tape
around the area to protect the paint, and glued a hollow piece
of evergreen plastic rod into place. Then I built up the area
behind the rod with plastic bits and super glue so it could
become the teardrop shape behind the IR Jammer mount. After
letting it dry and harden for a day, I sanded it into shape and
smoothed it out. Then I repainted that spot, pealed back the
tape and it was done! Be aware that Hasagawa does not mention
any of these necessary mods in the re-release instructions
(which are only a paint guide) although it does show the fairing
over the sonobouys in the three view drawing.
|
|
After that I weathered the panel lines by trying a new
technique for me, with Steve's Chalk Dust wash method in th ARC
Tools and Tips section. It worked great and was very
easy, and it will be my method for a long time to come. See 2
pictures directly below.
|
Click on images below to see larger images |
 |
 |
|
|
|
|
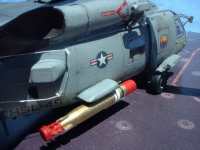
| In the
meantime I had painted my two Torpedos with Testors Brass Metalizer using a picture of the real thing for a color guide,
also adding red and white as well. I know there are other final
touches I am forgetting, but those are the biggies. |
|
|
|
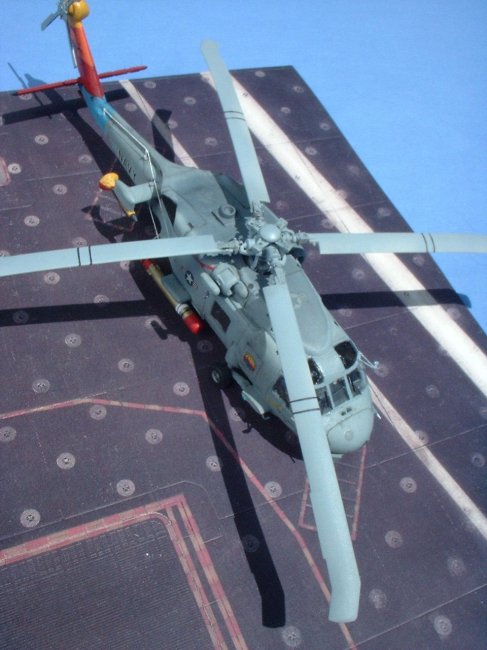
The kit is an easy build despite the necessary
modifications, and only took me three weeks (mostly an hour or
two a night and a few more on the weekends). Although it is not
perfect it does turn out nicely and is something different for
your shelve. If you like the Seahawk but want to go bigger,
Cobra Company will be releasing a new 1/48th kit in a mixed
medium kit mostly of resin (http://www.cobracompany.com/)
next
time I might go for that. But in the meantime I would recommend
this kit for a fun diversion from all those fixed wing kits you
might have.
Everett
(click on
the image below to load the full size photo)
|
|