|
This is my 1/48 SH-60B Seahawk, a
kit I have waited years for. Cobra
Company finally answered my prayers and produced this very nice kit.
Upon opening the box I was floored. Cobra Co. thought of everything, very
crisp resin casting, great instructions, white metal parts, photoetch, vac
windows, even sheet styrene and sandpaper! Also included was a complete
Academy MH-60 kit, you will use several parts from it on your SH-60, but your
spares box will benefit greatly!
Construction starts with mating up the fuselage halves. First sand them
perfectly straight, then glue them together EXACTLY the way the instructions
suggests. I can not stress this enough, read and follow the directions to
a "T". If you do, you will have very minimal fit problems later
on.
|
Click
on image at right to see larger image
|
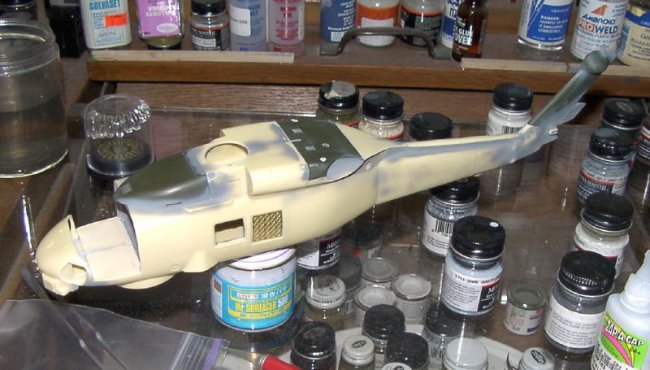
This model was a bit different, in that it was
built from the outside in. After the fuselage was put together, it
was painted, then all the interior parts were painted and inserted through
the doors. The interior is very well detailed, in typical Cobra
Company fashion. |
|
The only real trouble spot I had was
the clear parts. The main canopy did not fit well. I ended up
shimming the back side with strip styrene, then filling in the gap with
superglue and sanding smooth. I tinted the top glass with Tamiya smoke
before installing.
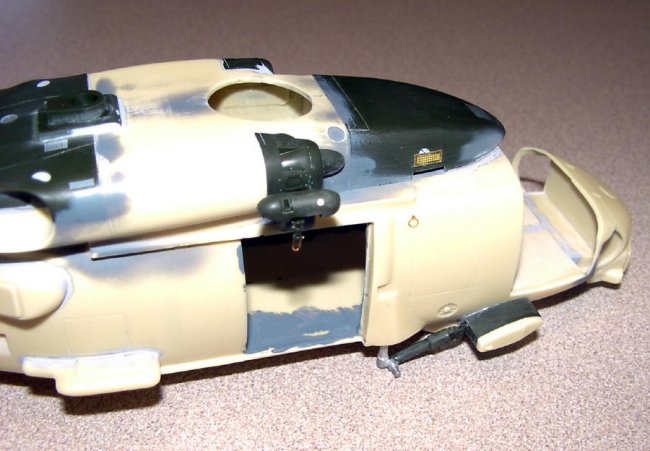
I
was not happy at all with the intake and exhaust areas, which you use the
plastic kit parts for. I decided to close them up with covers. The
intake covers were made from styrene cut to shape. The exhaust was a bit
more of challenge - I made a disk out of epoxy putty and pressed it in to
shape. After it dried I faced it with a styrene disk and a wire handle.
Some RBF tags finished them out.
|
Click on image to
right to see larger image |
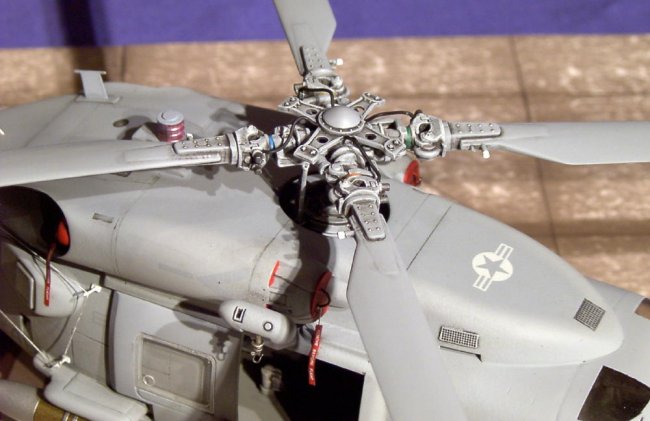
The
rotor blades were modified per the instruction sheet, drilled out and
glued to the white metal rotor head. The top cap on the SH-60 is a
dome shape, and this was made by gluing telescoping styrene disks
together, covered with CA, then sanded to shape. Hydraulic lines
were also added, as well as the color coded bands on each rotor.
|
|
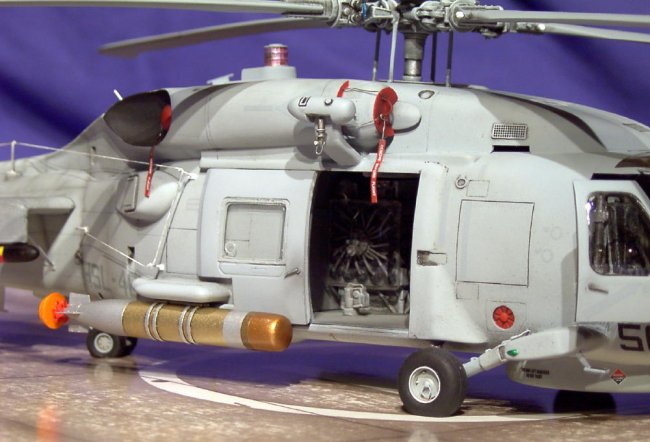
Cobra
Co. gives you options on external stores, I chose a drop tank on one side and a
torpedo on the other. Parts are included to set it up any way you prefer.
|
Click on images below to
see larger images |
 |
 |
|
Click on image to
right to see larger image |
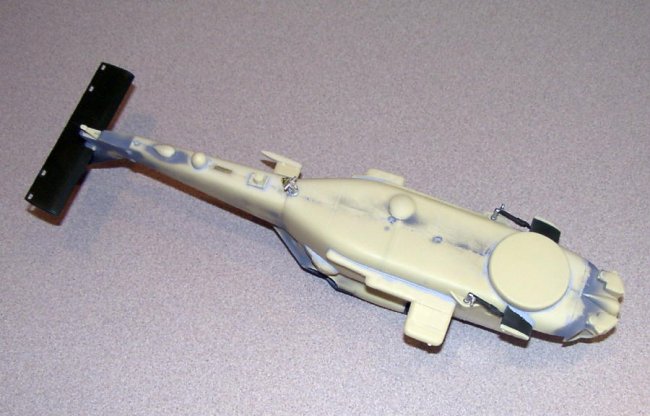
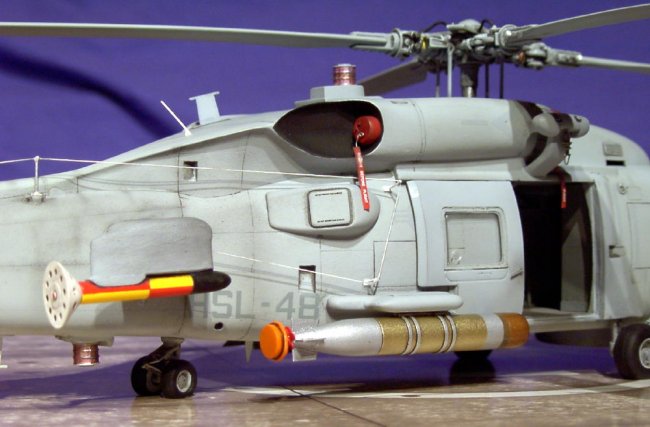
The
mirror supports and the antennae pylons are included on the photoetch
fret, but I decided to make mine out of stiff wire for extra
strength. Anything that protrudes from the fuselage I am sure to
break off! The antennae was made from fishing line. I also
scratchbuilt the rescue hook, the kit part (plastic) was a joke. |
|
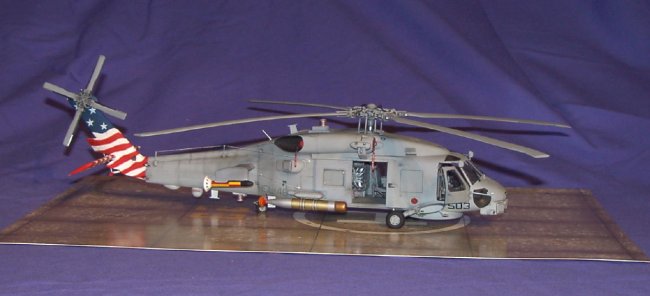
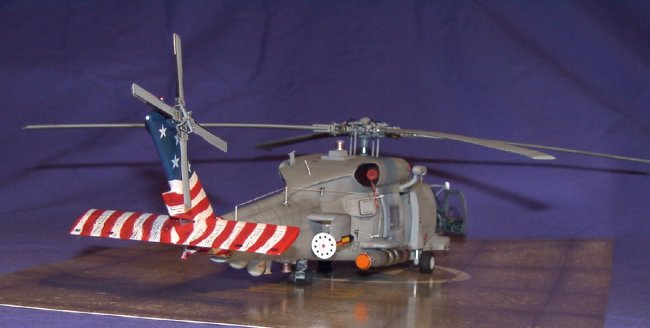
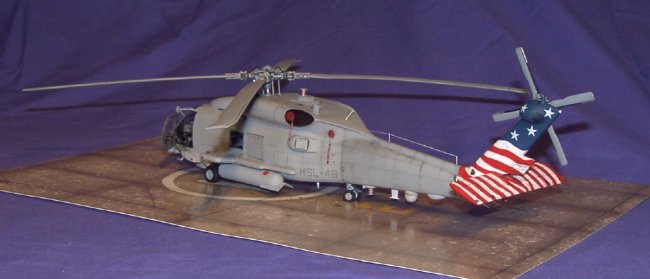
Even
though Cobra Co. provides an excellent decal sheet, I was feeling patriotic and
decided to paint my own tail art. It does not exist in real life, it's
simply a product of my (sometimes crazy) imagination. The rest of the
model is painted in the standard tactical scheme, with kit provided decals.
Static dischargers were added to the rear of the stabilizer, made from
toothbrush bristles.
|
Click on images below to
see larger images |
 |
 |
|
Click on image to
right to see larger image |
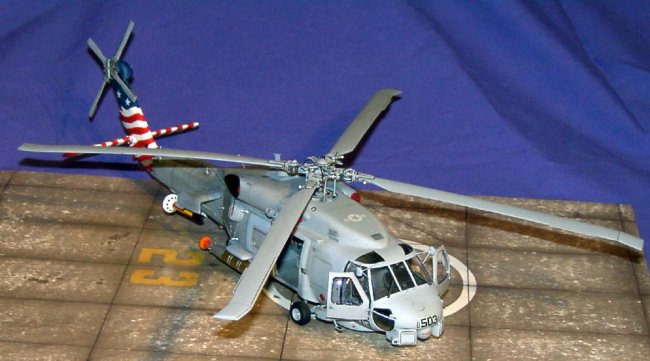
The
model is impressive when finished, both in size and weight. All the
antennas, mirrors, sensors, etc. protruding everywhere makes it a fragile thing
to be moving around. The rotor is not glued in to ease transporting.
|
|
Everyone
keeps asking me - is the kit worth the price? My answer is a resounding
yes, to me it was. The level of detail is eye popping, and it's been on my
wish list for a long time. I know Italeri has announced this kit as a new
release for later this year, maybe at the very least Cobra Co. will release the
interior and weapons as detail sets for it. I'm very happy with the end
result!
I would like include special thanks to Derek Brown and Chris Miller for their
help, pictures, and tips.
Kelly
|
|