|
The two fuselage halves went
together well although around the nose there was a small step. I had already
glued and filled the seem on the hump so that took care of the top of the kit,
although there was some gaps when I glued it on near the front of it and the
rear. As I said earlier the nose needed a lot of sanding and filling. The next
step was the tail pipe which required me to cut the kit area before I joined
halves and then A LOT of sanding and filling before it looked good.
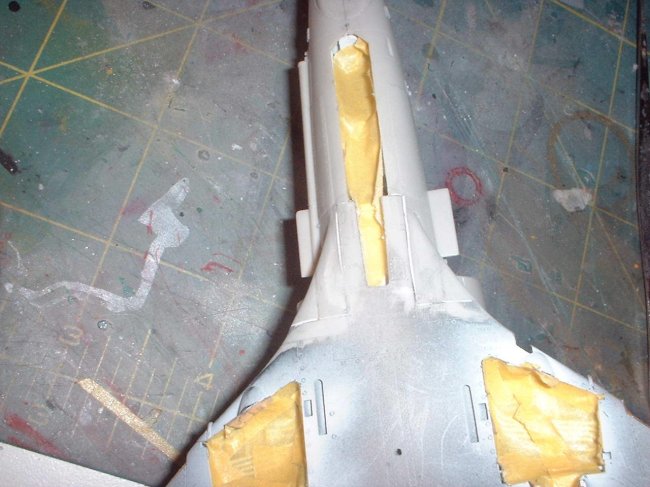
The wings were next and they went
well and were easy to join to the fuselage, but be aware that the slat tracks
were very easy to break off (I managed to break off all of them at one point)
and the next A-4's I build will have support on them through out. Painting the
flap and slat panels red and then masking before gluing will save you time
latter.
| The biggest joint
problem comes next, the wing root/gun ports, which is very mis-matched and leaves a huge
step between the parts. I used the fared over part (included as an extra
part for future kits) and then again A LOT of super glue and sanding to
get it done. also giving me trouble in this area was the gun pods from the
Hobbycraft kit which needed a lot of work to fare it in. I replaced the
guns tubes with evergreen plastic rod that was drilled out.
Otherwise the rest of the kit fell together really quickly. |
| Click on images below to
see larger images |
 |
 |
|
|
Click on images below to
see larger images |
 |
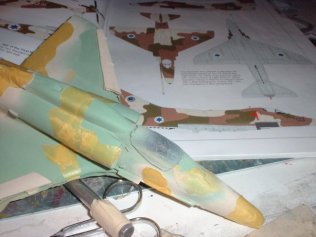 |
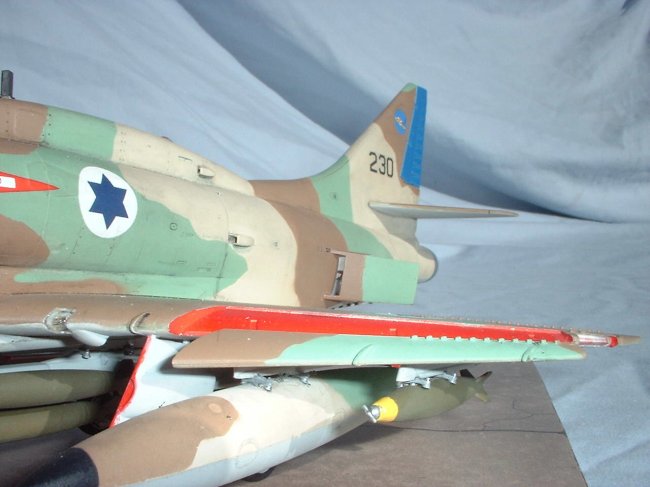
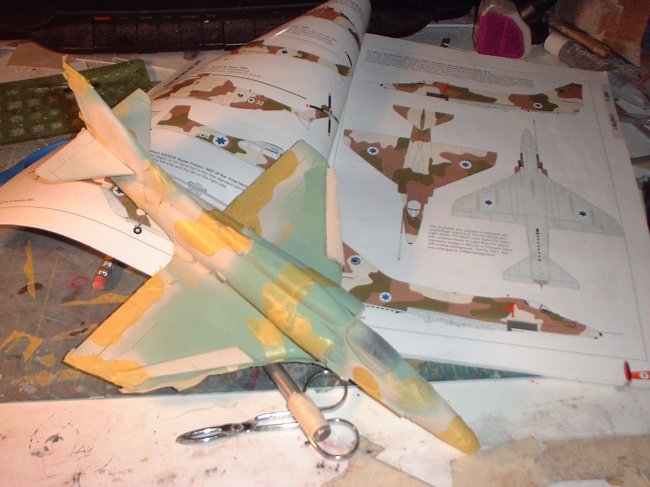
The painting came
next and started with Light Grey underneath and Tan upper surface. I at first
tried a soft mask method for the next two colors but I had too much over spray
so I started over. I then began to mask the colors using Tamyia low tack masking
tape starting with the pale green, then the dark tan. I ended up having some
hard lines and ridges in between paint lines and some areas of thicker paint,
but in the end I decided I could live with it since it's not that noticeable. I
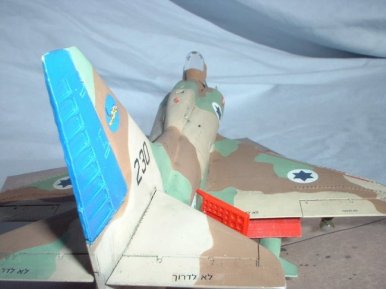
also masked and painted the tail bright blue to match the Flying Tigers badge. I
gloss coated next for the decals, and then began that process.
I had originally bought the
Hobbycraft kit for the parts and the decals too, but I decided to get the Sky's
decal set for the A-4 in the end because the Hobbycraft set were not very
complete or that good. Sky's provides you with many different aircraft options
for every variant in Israeli service from the H to the TA-4H to the N model, and
you can even mix and Match nose numbers and serial numbers (as I did).
| Given all of the options of the
decals and the aircraft it self, it is best to do some research and
pick a plane to use for your model. I settled on a A-4F in my reference
book Israeli Aircraft and Markings that had all of the features I had
built including the straight refueling probe that I was using (I broke the
bent probe earlier on in my construction). |
|
Click on images below to
see larger images |
 |
 |
|
|
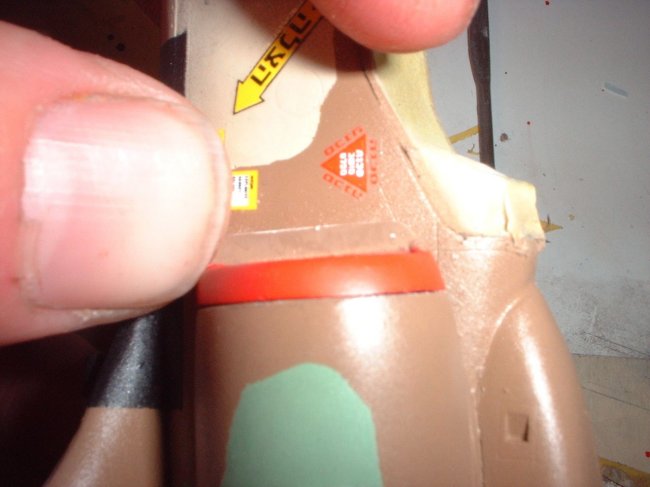
The decals were the best
decals I have ever used and went on like a dream, I used Solvaset and
solvent to snug them down nicely and they never silvered at all. A very
nice touch of the decal set is the Hebrew stencils (as well as English
stencils) they really add a authentic touch. After I was done I sealed
with Testor's Flat Acyclic and began to weather. I used Steve
Bamford's Chalk Dust wash technique again (Steve insert link if you want)
to highlight panel lines and rivet detail, as well as overall dirtiness.
One thing I found though is that it gets under decals if you are not
careful as I had to replace two of the Hebrew "No Step"
decals.
Another problem I had with the
decals is that the red paint and the "Danger" intake decal did
not match after I applied the flat coat (although it looked like a match
earlier-dhooo!). |
|
Hasagawa has always made a nice kit,
but this one is outstanding and easy to build, with exception of the gun area, I
highly recommend this kit. While I was in the middle of the construction I saw
on Hyperscale that I was not the first to come up with this project, Julien
Haccoun had the idea first and did a nice job. (http://www.kitparade.com/features01/skyhawkjh_1.htm)
This is only this first of many more Skyhawks I will build, next up is the TA-4J
using the Monagram OA-4M kit for the canopy, a Eduard set for the cockpit and
the Hasagawa A-4E/F for the body.
With my luck I am sure right after it is done Hasagawa will release a TA-4J kit,
as the parts tree has two control sticks, and many other clues about what might
be. Long live the Scooter!
Reference;
-
The Israeli Air Force Camouflage
& Markings, part 2: 1967 to 2001
-
Wings of Fame, A-4 Foreign
Operators Briefing
-
ARC's A-4M walk around (please
put link here Steve)
Happy Modeling
Everett
|
|