|
The
Kit
Upon first
inspection, you’ll find the usual high degree of fine detail throughout the
kit, with recessed panel lines. However,
what I found displeasing, was the large number of ejection marks along the
underside of the wings and flaps. With
all that detail along the undersurface of the wings, this made it especially
hard to fill and sand without losing detail.
The kit comes with two wingtip tanks, but no weapons, as usual.
I think Hasegawa does this to all its kits in order for the consumer to
purchase their weapons set. You
Think!
Construction
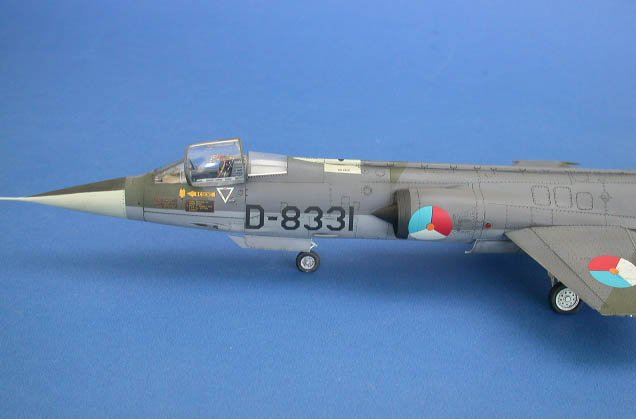
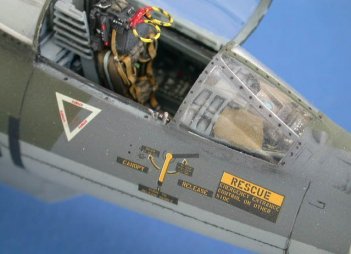
Construction began with the addition of the Black Box (48006)
cockpit detail set. This is a
highly recommended addition to the kit. The
set provides the newer Martin-Baker GQ-7 ejection seat, which replaced the older
Lockheed C-2 seat and is standard with a few NATO Air Force, F-104’s.
Once the cockpit was painted in Model Master Dark Gull Gray, the
sidewalls were installed first, followed by the cockpit tub.
The set goes in without any cutting or modification to the kit fuselage.
|
Click on images below to
see larger images |
 |
 |
Next came the intake trunks. The intake trunks have to be assembled first
before attaching them to the main fuselage.
Before they were assembled, I painted the inside of the intakes white.
Then the inside of the lip and a portion of the intake splitter cone
painted flat black. Once this was
completed, I assembled the trunk and attached it to the fuselage.
This is where I had the most problems.
The fit here is somewhat left to be desired. A lot of filling and sanding was required to get a flush
smooth mating surface. This caused
a loss of detail in this area and there was a lot of fine detail here which had
to be re-scribed.
| The rest of the plane went
together without much trouble. The flaps were left off until the painting process began, as
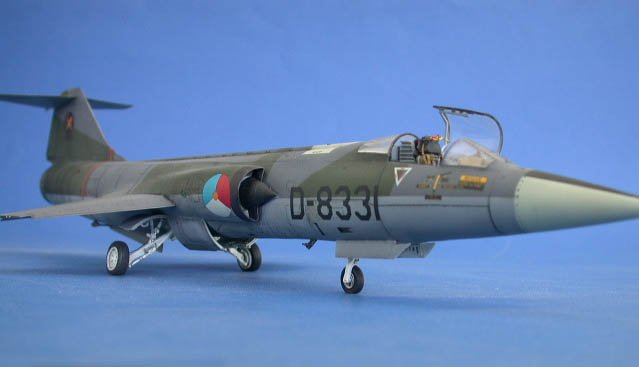
well as the exhaust can, which was replaced by the Aires set
(4100). This too is one of
the finest castings I’ve seen to date.
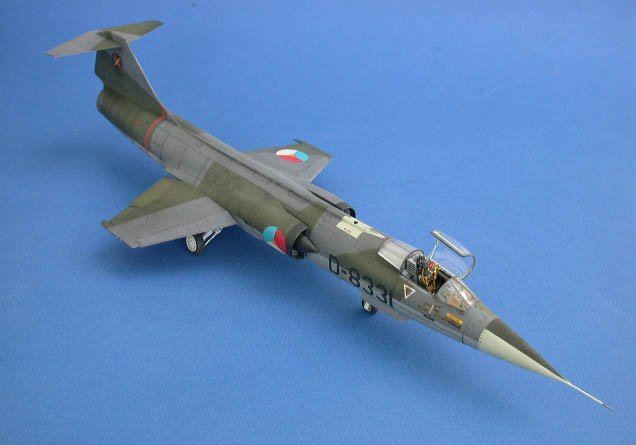
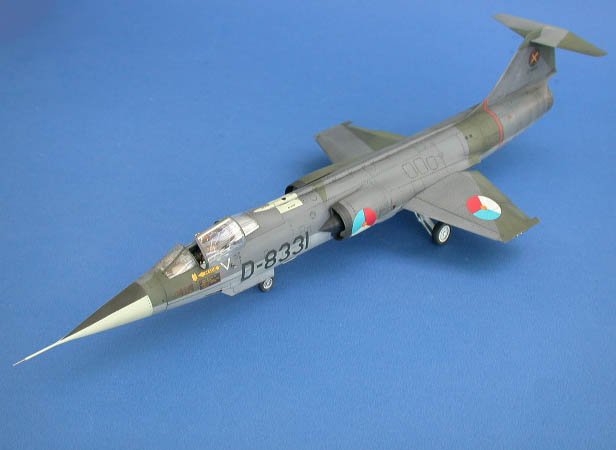
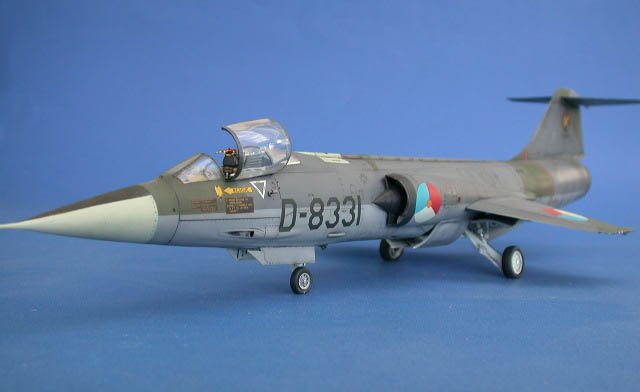
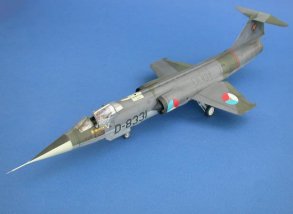
I left off the wingtip tanks to
show a training and evaluation plane of the Dutch Air Force.
|
| Click
on images below to see larger images |
 |
 |
|
Painting
Painting began with an overall paint of dark ghost gray. This acted as a primer as well as the underside color.
Once this color was sprayed, I took a thinned mixture of flat black and
dark gray mix and pre-shaded all the panel lines.
I then took the base color (dark ghost gray) and sprayed over the entire
underside until a hint of the panel shading was visible.
Next, I painted the two-tone camouflage of gunship gray with a little
light ghost gray mixed and dark green mixed with a little forest green. Again, each of these colors was sprayed over the panel
shading until a hint of shading was visible.
Once all the colors were painted on, I took the base mixture of each
color and lightened them. On each
panel, I sprayed the insides until it was lightened.
Now I take the base color and thin it down with thinner to a ratio of 70%
thinner to 30% base color. I then
go over the entire specific color until I reach a balance between the panel
shading and the lightened panels. This
technique is subtle and to each individual taste.
After the model is sprayed and I’m satisfied with the tone of colors,
I’ll spray the entire model with Future acrylic floor shine.
This seals the paint and prepares the plane for decaling and weathering.
|
Click on images below to
see larger images |
 |
 |
Weathering
Once the Future has had about a day to cure, I mix a wash of flat black
and dark gray with mineral spirits. The
entire model then receives this mixture to all the recessed panel lines and
detail. The excess is then wiped
off with a dampened soft rag of mineral spirits.
The plane is left to dry for about another day before moving on to
decaling.
The kits decals were used and went on with Solvaset solution. Once the decals settled down, I ran a blade over the decal
and panel line and used more Solvaset to get the decal to settle down further.
I ran the wash over the decal/panel line and wiped the excess, as before.
The entire model was then sprayed with Testors Dullcoat.
Once the flat coat was dry (another day involved) I took some artists
oils (Black and Burnt Umber) and lightly dry brushed the aft section of the
exhaust area. Oil streaks around
the plane received this mixture to finish the model.
After all the painting and weathering was done, I attached the flaps,
exhaust can, canopy and wheels.
|
Click on images below to
see larger images |
 |
 |
Conclusion:
Although,
the colors may not be right, I believe the techniques shown here still make for
a decent looking model. I can’t
over emphasize what a great resin kit Black Box has come up with for this
version. After seeing the quality
of the Aires exhaust can, I ran out and purchased their cockpit set
(4098) for the C version and the wheel well set (4103), and found them equally
exceptional. Hope
you’ve enjoyed this article. I look forward to your comments.
Henry
|