|
This is one of the easiest "Vacforms"
I have ever tackled, I use the term vacform loosely as only a small part of the
kit is vacuformed plastic, a
greater part is injection moulded and formed in white metal. The vac parts are
the two parts to make up the wings and centre
section and construction starts with these, once removed from the backing sheet
and the trailing edges have been thinned as far as possible you are advised to
tape the halves together to fit the metal wheel bays in position.
After untaping, the Tail pipe
unit can be placed in position and cemented using superglue and the wings can
now be cemented together, a tip here I taped the nose halves together and placed
the unit in position on the centre
section before the cement dried to ensure the proper cross section while
hardening. wing fences are normally a problem to cut and fit but not here, a
razor saw cut on the marked position was all that was needed before inserting a
strip of 15thou card which was sanded to shape when hardened
off. While waiting I built up the booms and tail plane sections and drew up a
rectangle on a piece of cardboard, which was later used to check the booms and
tailplane were at the correct angles and squared up nicely.
|
Click on
images below to see larger images
|
|

|

|
|
The nose section was now removed
and worked on, the cockpit is pretty basic but then so is the real thing, pay
attention to the position of the nose wheel bay as described in the
instructions, I painted most of the details first and then assembled the rudder
pedals and instrument panel. The remainder of the office furniture was added
then the two halves of the nose section were cemented together and cemented to
the wing section. The metal intakes were superglued to the openings but they
needed some filing and filler to get a smooth fit, when the booms were fitted I
needed a little filler around the joins but it was only a tiny amount to make it
good. As usual you get two canopies from Aeroclub and are so easy to cut out
from the vac sheet I found the second was not needed, the fit is good and I
fixed mine on with PVA glue and masked it ready to go.
The wing tanks were added and the
little strips of plastic cut to fit on the inner edges as described then all the
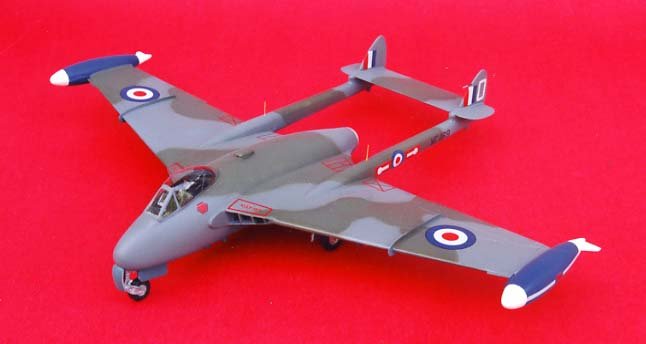
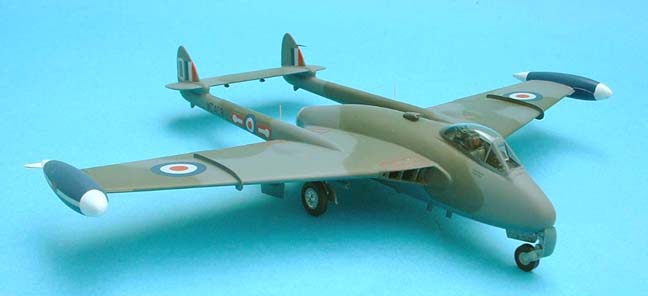
tiny fittings were glued in position ready for painting. I painted the white on
the tip tanks first then the blue, when these colours dried out they were masked
and the camouflage was sprayed freehand, a couple of coats of Klear were dusted
on ready for the decals.
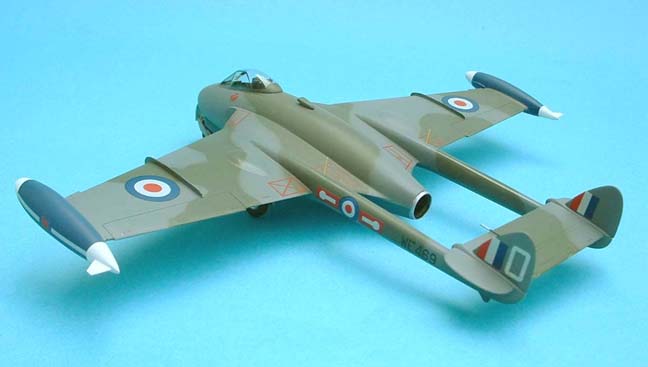
There are two sqdns markings
supplied 45 and118 sqdn with all the usual roundels etc.etc. when these were
settled down another coat of Klear sealed them in and a final flatting coat was
added to bring back an almost matte finish.
I liked this model it was easy to
build and adds another item to my RAF collection.
Ted
Drop by Ted's Website to
see more of his models. Ted
Taylor's Modelworks
|