|
Hello, I am Zhou Kun
from mainland China. This is the second time I post on ARC, what a pleasure. The
construction of this Nighthawk started in 2007 and was completed in Spring
Festival, 2009. The craft was built almost straight OOB, except for the
pipelines I added to gear bays and weapon bays. The paint I used to high light
the facets included Gunze's Mr. Surfacer(Base color), C92 Semi gloss black, C301
Gray(C92 and C301 are mixed as to make primary color on fuselage). As to
weathering, I used mixture of brown and black oil painting colors.
Click on
images below to see larger images
Construction Steps:
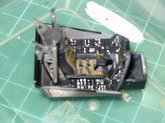
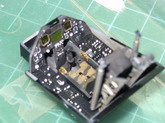
1. I built all the
bays (cockpit, landing gear bays, weapon bays, DLIR bay and FLIR bay) at the beginning, since
they were to be installed before fuselage assembly
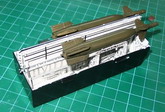
2. Prior to fuselage
assembly: One should be careful with the landing gears and pitot tubes. You
may find it difficult to insert the main gears after you assemble the
fuselage, it is suggested you install them before the assemble. It is also
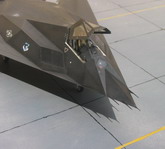
suggested that one does not remove the V-shape guard at the nose, so pitot
tubes would not be damaged during construction.
3. Fuselage
painting: I used Mr. Surfacer on the fuselage, as to turn it gray. The surfacer
serves as base paint that make primary colors stick to fuselage firmly. C92
Black was sprayed on edges of all facets as pre-shading. Mixture of C92 and C301
served as primary color. The method kept fuselage from looking dull.
4. Assembly of
fuselage: I suggest one fill the gap between fuselage halves, since this gap
does not represent any real seam-lines on a real F-117. Repairs of damaged paint
was done after I smoothed out that gap.
5. Weathering: There
isn't much to say. Black works on a 'black' aircraft, if appropriate colors are
used.
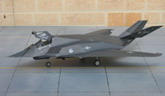
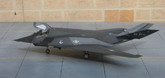
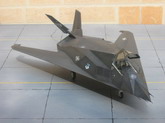
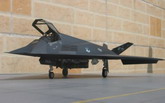
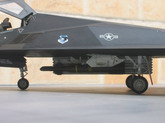
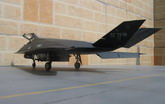
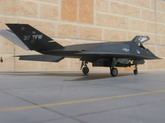
Enjoy the photos!
Regards
Zhou Kun
Click on
images below to see larger images
|