1/72 Testors F4U-1A and Italeri F4U-7 |
|
|
Gallery Article by Justin Davenport |
|
|
|
The
F4U Corsair, aka Bent Wing Bird, was one of the most famous and most effective
piston engined fighters the world ever saw.
The Corsair prototype made its first flight in 1940 in pre-war US Navy
colors, when my grandpa was in high school, and the type ended its combat career
a year before I was born, in the 1969 “Soccer War” in Central America.
Along the way, the “Bent Wing Bird” was the mount of many aces in
World War 2 and even an ace in Korea, and it saw action against aircraft ranging
from biplanes to Zeros to MiG-15 jet fighters, in theaters ranging from the
islands of the south Pacific to the mountains of Korea to the sands of Egypt.
The Corsair first saw service with the US Marine Corps because the Navy
didn’t like the Corsair’s landing characteristics (they had difficulty
initially using the F4U on carriers), but the Navy adopted the type and together
the Navy and Marine Corps Corsairs shot down many, many Japanese aircraft and
crews, and were very valuable in winning the war in the Pacific.
The
Corsair saw service in the postwar Navy and was called to action again in 1950,
when the North Korean Army crossed the 38th Parallel.
The Corsair’s rugged construction and maneuverability as well as good
speed for a piston fighter made it suitable for ground attack missions and
combat air patrols against North Korean piston-engined “Bedcheck Charlie”
aircraft that regularly bombed US air bases at night.
These aircraft, including Polikarpov Po-2 biplanes, were too slow for
interception by the F-94 Starfires and other jets that patrolled the area.
However, a squadron of Navy F4U-5N Corsairs equipped with radar
successfully started to take down the Bedcheck Charlies, and one Navy pilot, Lt.
Guy Bordelon, became the only USN ace of the Korean War.
In
the early 1950’s the French Aeronavale ordered a new variant, the F4U-7, and
Corsair production finally ended with this variant in December 1952.
The F4U-7 saw action in Indochina, the Suez Canal, and Algeria.
The
Corsair finally ended its combat career when El Salvador and Honduras fought the
“Soccer War” in 1969; one Corsair pilot had several kills in that conflict.
These days, the Corsair can sometimes be seen at airshows; in fact, this
month’s (November 2002) Air and Space magazine has a great article about
surviving Corsairs.
|
Click on
images below to see larger images
|
|
|
The Models
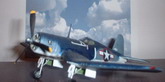
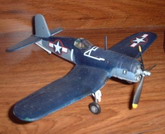
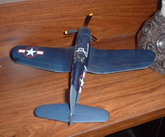
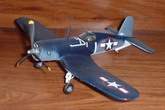
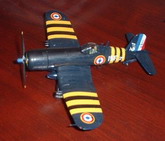
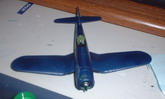
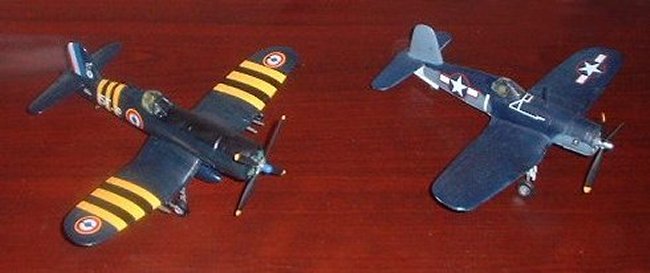
I’ll start with the Testors F4U-1A. The F4U-1A was a variant of the original F4U-1 with an improved “bubble” type hood canopy instead of the F4U-1’s “birdcage”. This kit is actually marketed as an F4U-1D by Testors and has a 1945 F4U-1D scheme as well as decals for two F4U-1A’s (Pappy Boyington’s and Tommy Blackburn’s Big Hog). I decided on the Big Hog because I like the pirate flag on the cowling. When I built the kit, I had to cut off the molded on pylons on the bottom of the wing because the 1A did not have them.
The F4U-1A kit
had no cockpit, just a smooth area where I could glue the head of the pilot.
I thought about putting in a resin cockpit, but figured it would involve too
much cutting, and since the canopy is molded closed, there wouldn't be much to
see, so I painted the pilot head, and I painted the plastic area zinc chromate,
and glued the pilot head to it, then glued the canopy on. The Testors kit,
which I got as a birthday present, as I read it, is a repop of the 50's era Hawk
Corsair kit, and has a mix of raised and recessed detail. The wing
airscoops are just plastic sunken areas.I painted those black. Most of the
work I did was with finishing, painting, and decaling..back when I did this
Corsair I was only learning how to use the airbrush, and this was the first
model I successfully airbrushed. I used Tamiya smoke to brush on exhaust
stains, and later added some pastel powder. I used Model Master Acryl dark
blue and intermediate blue for the finish..I only was able to successfully
airbrush with those paints when I did not thin them or if I thinned them with
only a drop or 2 of Testors airbrush thinner. I used aluminum paint to add
some chips and also did the engine face in steel..and I painted the wingtip
lights aluminum then brushed over them with Tamiya clear red and green. I
sprayed Testors Metalizer on the bird..in fact I sprayed a few coats, let it dry
to the touch, then put the decals on. That was a mistake..I should have
let the metalizer dry at least 24 hours because the decals silvered in some
areas. But I didn't know how to correct it, so I left it as it was.then
sprayed dullcote on to the bird. At first, I thought I'd screwed up
because the decals started to shrink and wrinkle. Then the decals came
back to normal..and all was right again.I finished adding on the landing gear,
prop, and other bits and the bird was ready for my shelf.
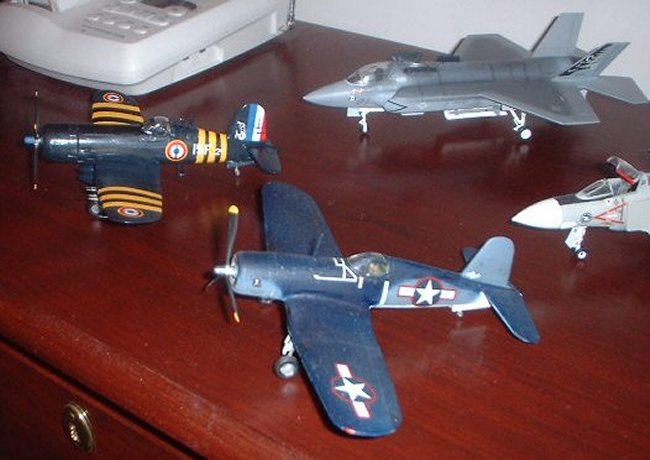
All this was
done in the spring of 2002. Fast forward to the fall. I
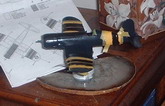
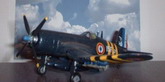
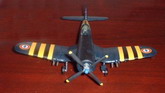
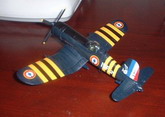
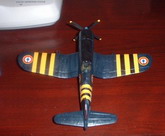
decided to do the French F4U-7 because I liked the combination of gloss sea blue
and the yellow/black Suez stripes. Also, my IPMS Salt Lake City chapter
was doing French night. So I got cracking on that kit, and it was a good
build. I don't know how accurate it is, but it certainly looks the part.
Yes, this Italeri kit does have a cockpit, and I painted the 'pit in
zinc chromate..it has a better engine and airscoops too..I built the fuselage
and wings/stabilizers..and this time I brushed gloss dark sea blue on the bird
because it was too cold and wet to airbrush outdoors. Then I masked off
the striped areas with Tamiya paint, brushed Future to seal the demarcation
lines, then brushed the areas flat yellow, needing several coats to complete.
Then I brushed on the black stripes..did the navigation lights, added
antennae.put on decals straight onto the a/c because most of it was gloss
already and the decals looked fine. I added a French blue-type color for
the spinner, put on the prop, put on the landing gear, added the rockets.added
pastel chalks and tempera along with scale black streaks for the exhausts.voila,
a French Corsair. (And thank you Fancherello and Stef for your help!)
I hope you all enjoyed my "bent wing birds".
Happy Modeling!
Justin Davenport
|
Click on
images below to see larger images
|
|
|
|
|
|