|
This
is my model of the 1/72 Airfix Bristol Bloodhound surface to air missile. The
Bloodhound Mk1 was first deployed in 1958 and was used to protect the V-Bomber
bases from attack. The Mk1 had a number of short comings in its radar and
guidance systems, this was overcome with the introduction of the Bloodhound Mk2
in 1964
This
Kit is the 2006 re-release version, it’s moulded in soft grey plastic that is
nice and easy to work with. The parts are still quite crisp and there was
virtually no flash. No decal’s are included. I had decided that I would like
to depict my model pretty much as it appeared on the box artwork, so I purchased
a 25cm square MDF base. I stained and then varnished it and left it to one side
to dry fully.
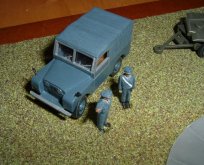
First
part to build was the Land Rover. The kit model was devoid of any interior
detail, so I scratch built the front seats, steering wheel and gear stick.
Additional details were also added to the exterior - windscreen wipers, exhaust
pipe and wing mirrors were scratch built. I also angled the front wheels a bit
so I looked like it had just steered in. The main body work was painted Humbrol
#96 and top coated with Gloss Cote. The canopy was painted in #157 and dry
brushed to bring out the canvas details.
|
Click on
images below to see larger images
|
|
|

|
|
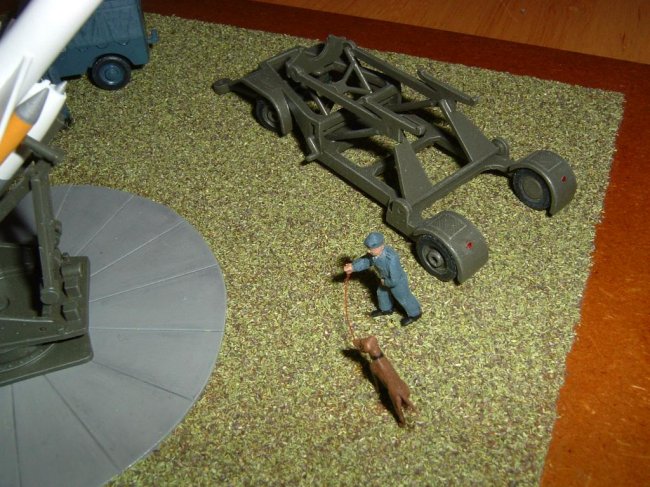
Next
were the trailer and the launcher. Both were assembled as per the instructions.
They were painted with Humbrol #163 and dry brushed with a lighter green mixture
to bring out there details.
The
figures were next to be painted, and it’s been years since I attempted to
paint any people so I had to do a bit of research first. I first painted the men
(and the dog..!!) matt black. Next I dry brushed the main uniform colour, then
mixed up a lighter shade of RAF blue and dry brushed this on to highlight the
surface texture. Lastly the face, boots and other details were picked out it the
appropriate colours.
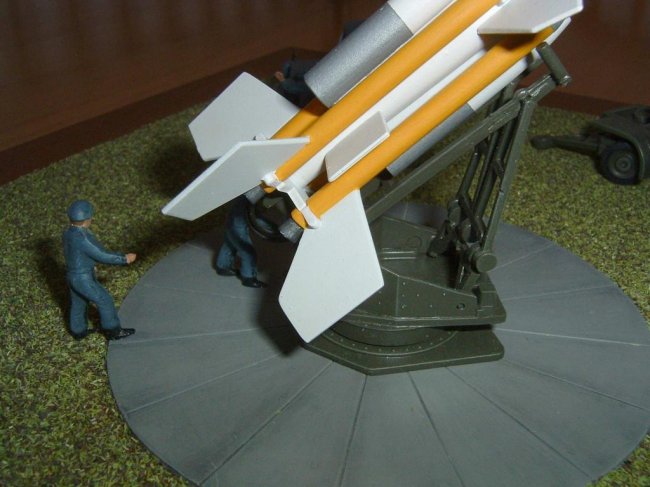
Lastly
I built the Bloodhound missile. The main body of the missile was built first and
then the four booster rockets. All the parts were sprayed with Halfords acrylic
white primer (I used this as the final coat as it polishes to a nice satin
finish) The boosters were painted #154 Insignia yellow and the engine bells
painted black/gun metal mixture.
Now
that I had all of the parts I could start to assemble the base. I made a
circular hard standing using plasticard, this was scribed to look like concrete
that had been cast in sections. It was then painted using shades of grey and
highlighted to simulate concrete; it was then stuck to the previously varnished
wooden base. I masked off the edges of the base and coated the remainder with
PVA glue. I then sprinkled on some light green scenic grass and let this set.
Finally all of the remaining components from the kit were attached to the base
– I arranged them using the box art work as a guide.
This
was my first non-aircraft kit in years. Building vehicles and painting people
were a bit new to me so I had to learn a few new techniques – great fun.!!
Enjoy.
Karl
|