|
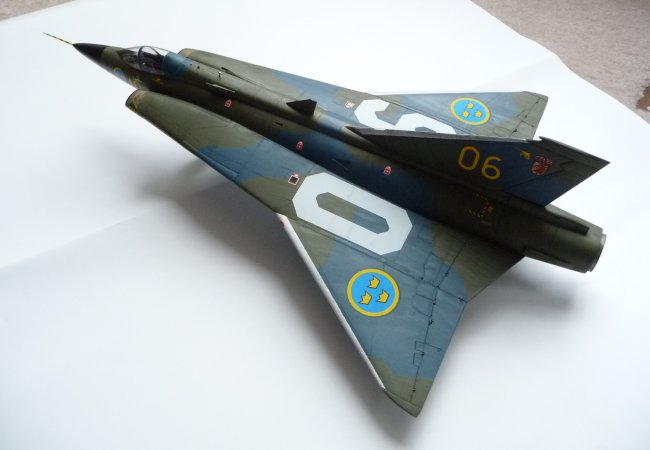
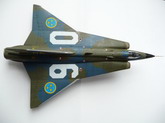
Primarily a ship
modeller, I was attracted Hasegawa's new 1/48 J35F/J Draken kit sheerly due to
its sleek and unconventional look (and may I burn in Hell for eternity for
straying into "wingy-thingies"). I built the F version as outlined in
the instructions strictly out-of-the-box, with no aftermarket or scratchbuilt parts.
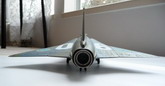
I sanded the back of
the RAT blades to give a bit more of a propeller shape, but did not thin it
too much due to the danger of breaking the blades. I would have expected, given
the advances in molding technology, that they would have done a better job of
the blades.
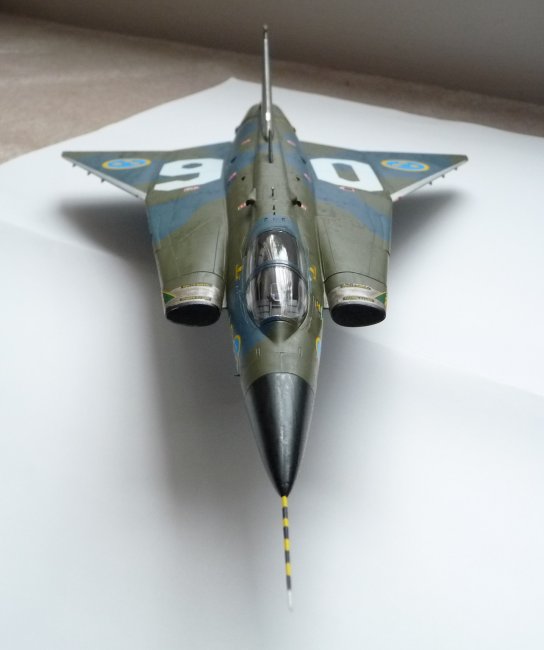
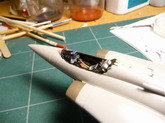
Another
disappointment was the spartan cockpit and the ejection seat in particular. I
used the kit's decals for the front panel (many many applications of decal set),
but changed to just painting flat black with silver drybrushing for the other
consoles.
Fit was pretty good
in general, though it was not easy getting the aft engine component to fit flush
with the main fuselage. Could have just been error on my part, though.
Click on
images below to see larger images
Paints used (all
handbrushed):
-
Pollyscale NATO
Tricolour Black for all black parts
-
Pollyscale 5-N
Navy Blue for the blue in the camouflage (don't look at me like that!)
-
Pollyscale US
Olive Drab for the olive drab in the camouflage
-
Mix of Gunze's
Aqueous Hobby Colours' IJN Dark Green and Black for the cockpit
-
Mix of Gunze's
Aqueous Hobby Colours' Silver, Wood Brown, and Black for the parts that
called for "Burnt Iron"
-
Gunze's Aqueous
Hobby Colours' Neutral Grey and Silver for the underside
As my first airplane
kit after several years of naval subjects, this was an interesting change, as I
was able to finish it during the two-week winter vacation between university
semesters - a significant difference from the months required for my usual
subjects. The decals were nice to use and I was glad to see that there weren't
dozens of small information decals that needed to be put everywhere, allowing me
to finish applying them all in two days.
Timothy Choi
Click on
images below to see larger images
|